








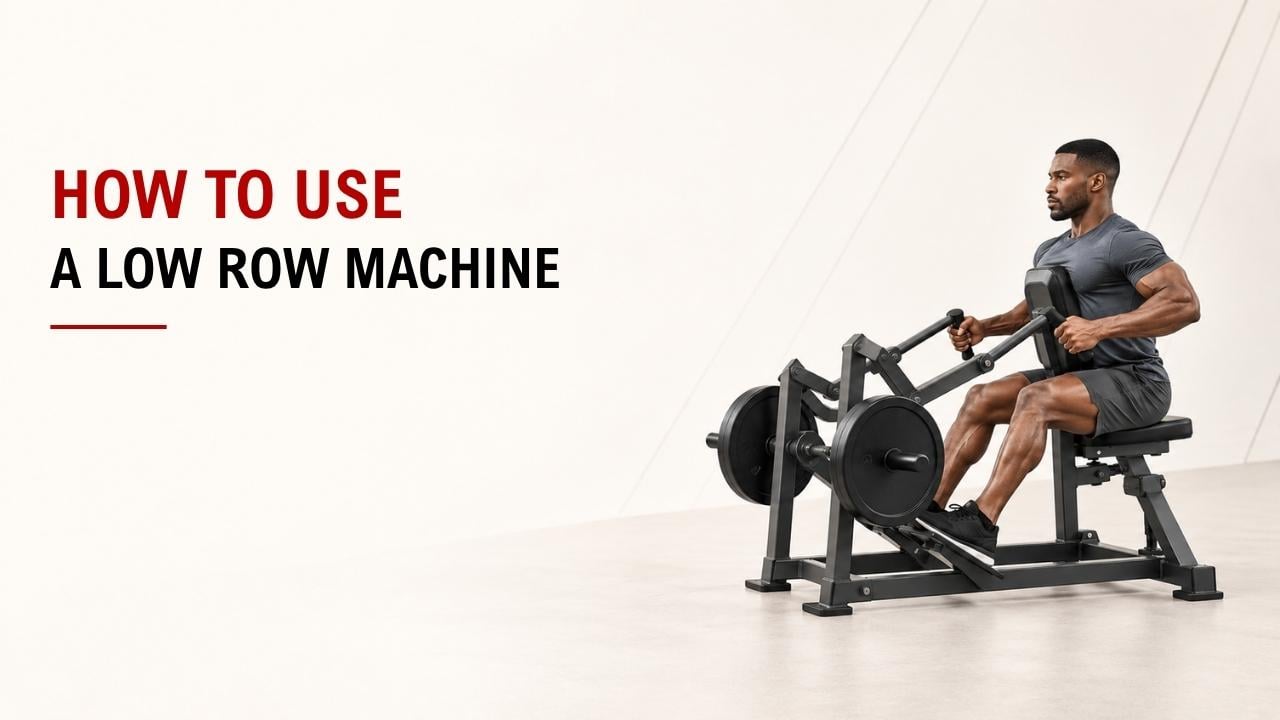

Not sure how to use a low row machine without feeling most of the work in your arms? Or maybe you are unsure how far back you should pull?
The quick answer is: set the seat, choose a manageable weight, pull the handles toward your lower ribs, squeeze your back, and return slowly. Keep your chest stable and let your elbows guide the movement.
As an Exercise Physiology & Biomechanics Expert at YR Fitness, I pay close attention to how the shoulders, elbows, and torso move during rowing exercises. I often see people improve their low row immediately by using less weight and slowing down each rep.
In this guide, I’ll show you how to set up the machine and complete each part of the row correctly. Follow these six steps, and you will know exactly what to do on your next set.
1. Adjust the Seat and Chest Pad
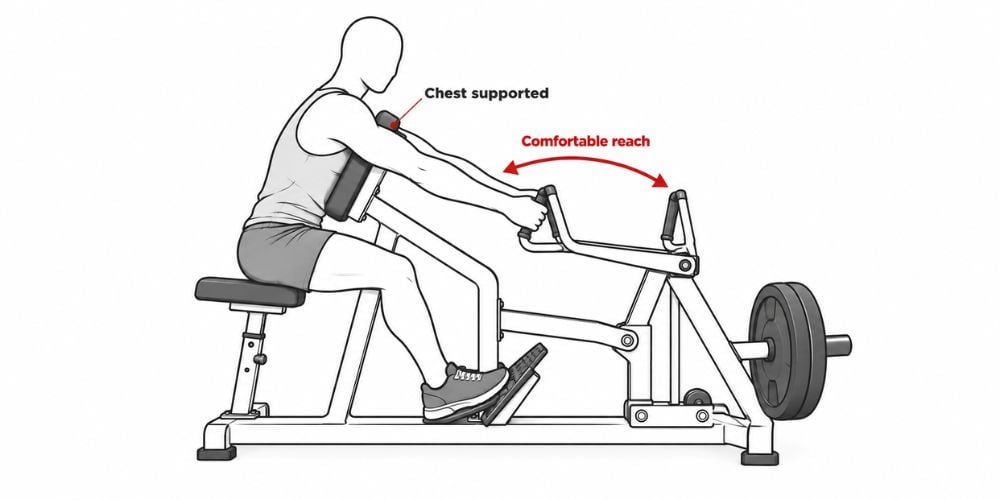
Start by getting comfortable and stable.
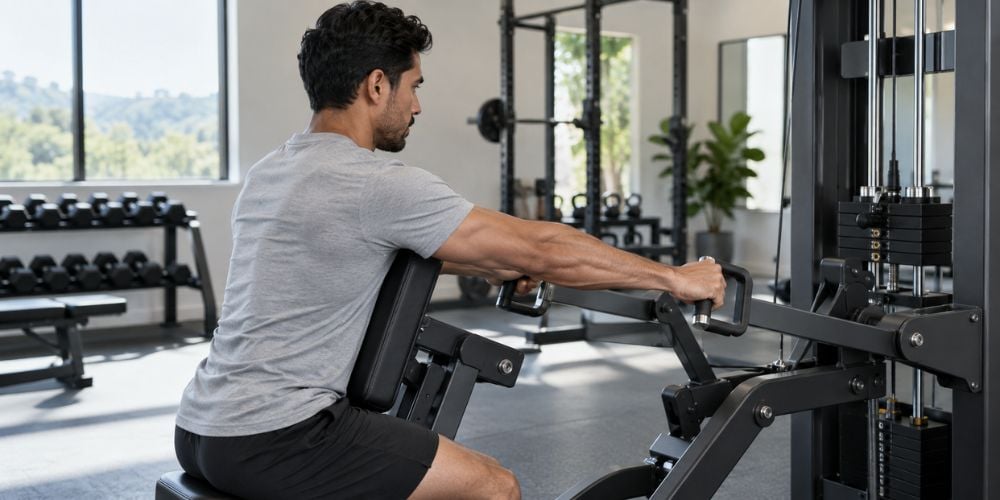
Sit down with your feet firmly supported. Adjust the seat until you can reach the handles without excessively rounding your back.
If the machine has a chest pad, position it so your chest rests comfortably against it while your arms can still extend forward.
Quick Setup Check
Area | Correct Position |
Chest | Rest comfortably against the pad |
Back | Keep a neutral position |
Feet | Place them firmly on the support |
Arms | Extend comfortably toward the handles |
Shoulders | Keep them relaxed |
Too far from the handles? You may round your back just to reach them.
Too close? You may shorten your rowing range.
I usually spend a few extra seconds getting this part right. A good setup makes everything that follows easier.
2. Choose a Manageable Weight
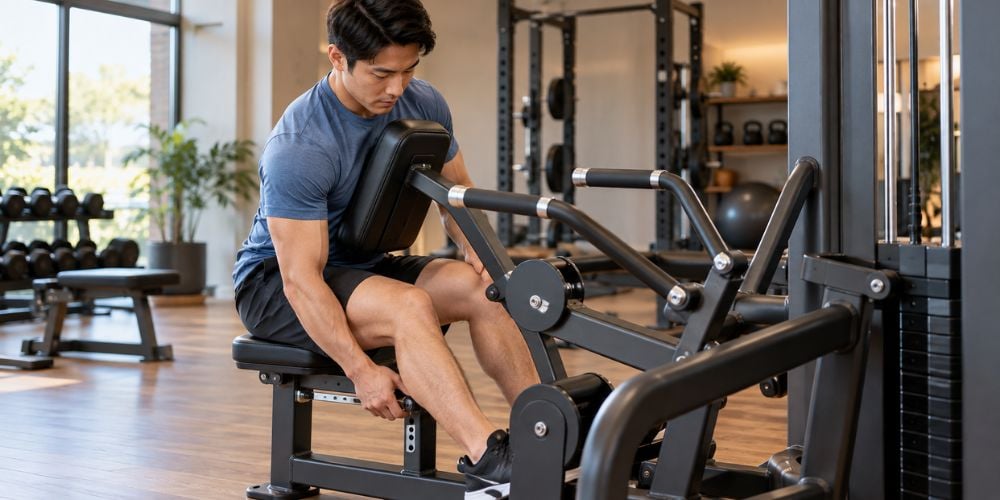
Do not start by seeing how much weight you can move.
Choose resistance that lets you complete every repetition without jerking your body or pulling your chest away from the pad.
For general resistance training, a useful starting point is:
- 2–3 sets
- 8–12 repetitions
- Controlled movement on every rep
That range also matches the American College of Sports Medicine’s resistance-training guidance, which recommends 2–3 sets of 8–12 repetitions with good form and controlled lifting and lowering.
The final few repetitions can feel challenging, but your technique should stay consistent.
Leaning backward just to finish the rep? Reduce weight.
For your overall routine, the U.S. Physical Activity Guidelines for Americans also recommend muscle-strengthening activity that works the major muscle groups, including the back.
3. Grip the Handles
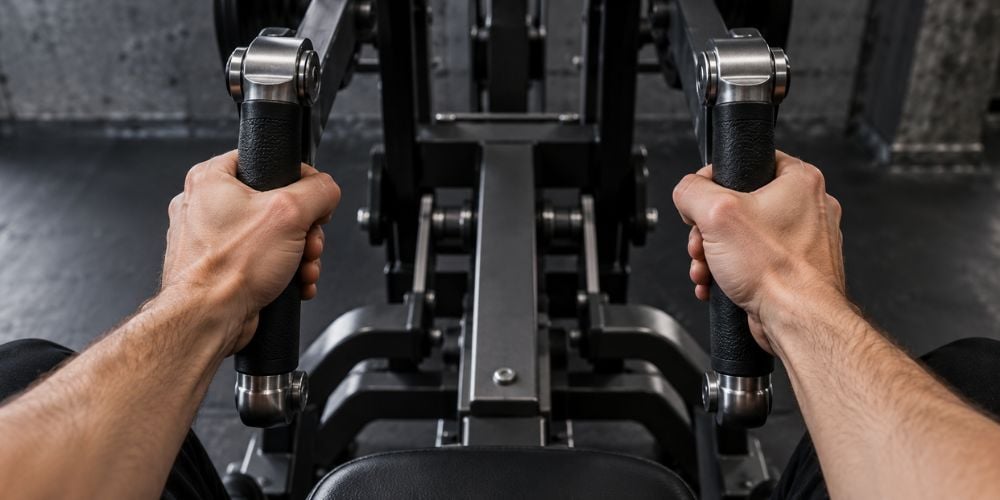
Hold the handles firmly but comfortably.
Depending on the machine, you may use:
- A neutral grip with your palms facing each other
- An overhand grip
- Independent handles
Keep your wrists roughly straight rather than bending them excessively.
Your hands connect you to the machine, but they should not do all the work. Think about moving your elbows backward instead of simply pulling harder with your hands.
One cue I often use is simple:
Hold the handles, then let your elbows lead.
4. Pull the Handles Toward Your Body
Now start the row.
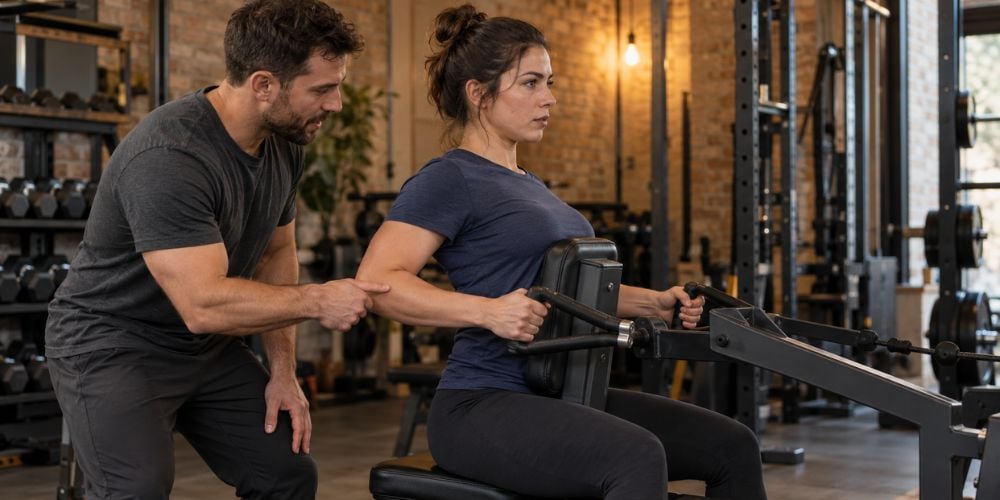
Pull your elbows backward and bring the handles toward your lower ribs or upper waist area. Keep your chest supported instead of leaning backward to move the handles farther.
Think:
Elbows back. Chest steady.
Your elbows should move naturally behind your torso. There is no need to force them as far backward as possible.
The American Council on Exercise gives a similar cue in its seated row exercise guide: maintain a stable back, pull the elbows backward near the rib cage, pause, and then return slowly.
Here is why this matters: once you start rocking your torso backward, part of the movement is coming from momentum instead of a controlled row.
At YR Fitness, we design our commercial strength machines around stable movement paths and practical user positioning. If you want to compare how different rowing and back-training machines handle support pads, grips, and movement angles, explore our strength equipment range.
5. Squeeze Your Back
Pause briefly at the end of the pull.
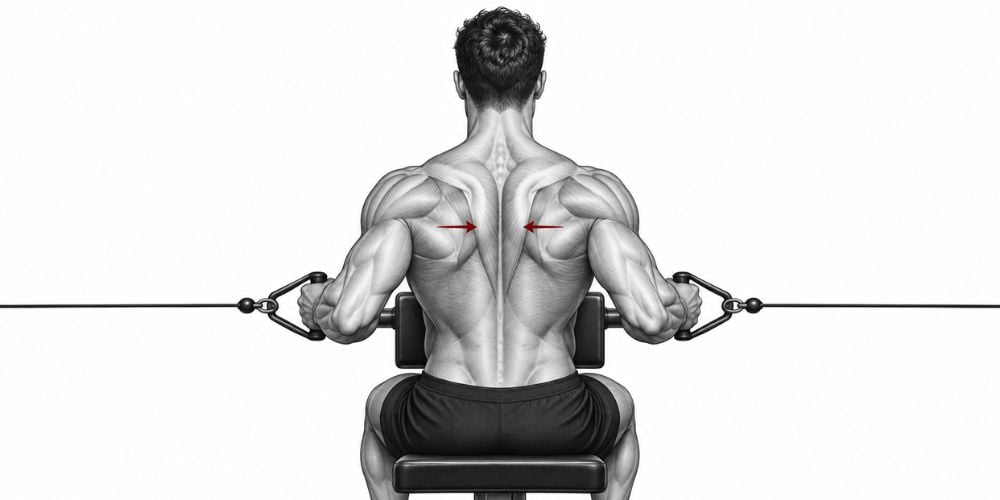
Think about bringing your shoulder blades toward each other while keeping your shoulders away from your ears.
You should mainly feel the exercise through your:
- Latissimus dorsi
- Rhomboids
- Middle trapezius
- Rear shoulders
Your biceps also help with the movement, but they should not feel like they are doing everything.
Mostly feeling your arms?
Lower the weight and focus on driving your elbows backward. I often see this small change help people feel their back working much more clearly.
Do not exaggerate the squeeze. A short, controlled pause is enough.
6. Return Slowly
Do not let the handles pull you forward quickly.
Slowly extend your arms and allow your shoulder blades to move forward naturally. Stay in control until you reach the starting position again.
Avoid:
- Slamming the weight stack
- Suddenly rounding your back
- Dropping your shoulders forward
- Rushing into the next repetition
The return is still part of the exercise.
I like to keep the rhythm simple: pull, squeeze, control back. It stops the exercise from becoming a fast back-and-forth movement.
Quick Low Row Form Check
Before your next set, check these points:
Body Position | What to Do |
Chest | Keep it supported |
Back | Maintain a neutral position |
Wrists | Keep them straight |
Elbows | Pull backward naturally |
Shoulders | Keep them down, not shrugged |
Weight | Use resistance you can control |
Pull | Aim toward the lower ribs or upper waist |
Return | Move slowly back to the start |
What matters most? Control.
If the weight is so heavy that your chest lifts, your shoulders shrug, or your body starts rocking, make the load lighter.
Conclusion
Using a low row machine is simple once your setup is right. Adjust the seat, choose a manageable weight, pull toward your lower ribs, squeeze your back, and return under control.
Focus on smooth reps before adding more weight.
If you want to compare commercial rowing and back-training designs, visit YR Fitness and explore the available strength equipment for different training setups.
Related articles:



