








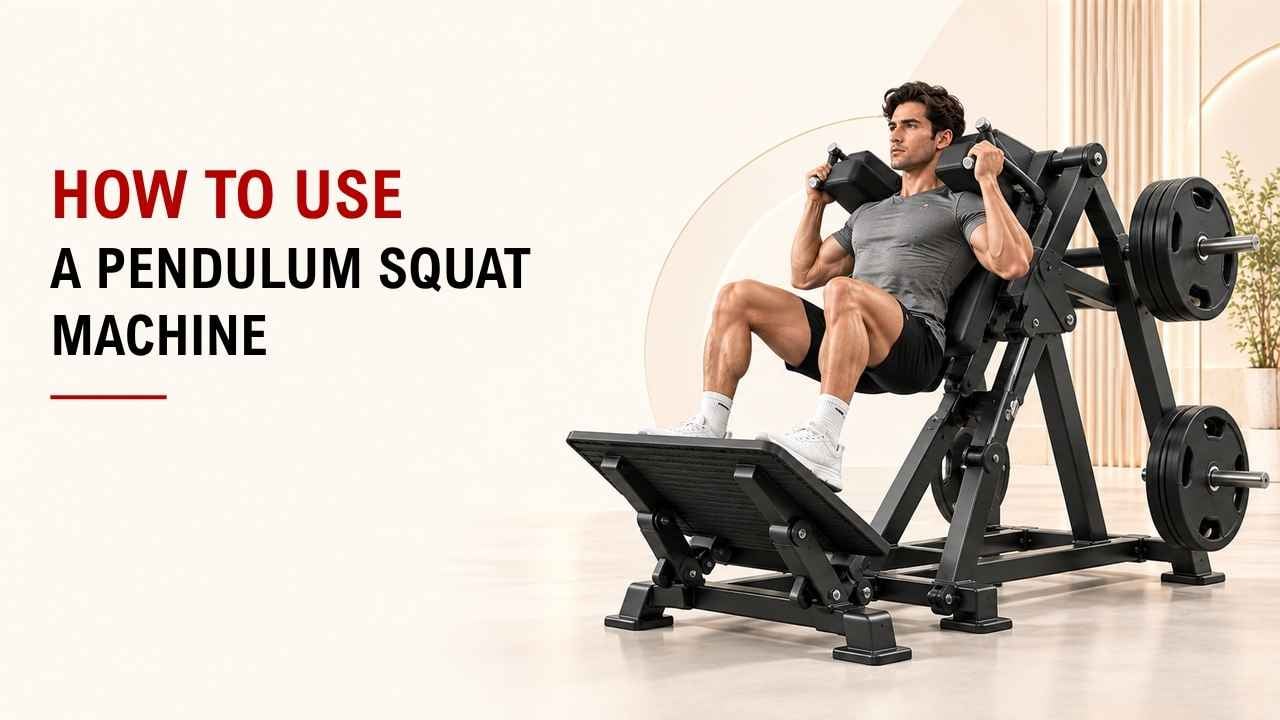

Have you ever used a pendulum squat machine and wondered where to place your feet or how deep to go? The setup can feel unfamiliar at first.
The simple answer is: keep your feet firm, back against the pad, lower with control, and push back up smoothly. Start light until the movement feels natural.
As the founder and chief designer of YR Fitness, I have spent decades working with strength machines and movement design. In my experience, good setup and controlled reps matter more than adding extra weight.
Below, I will show you the eight simple steps to use a pendulum squat machine correctly. Follow them from setup to re-racking.
1. Set the Starting Position
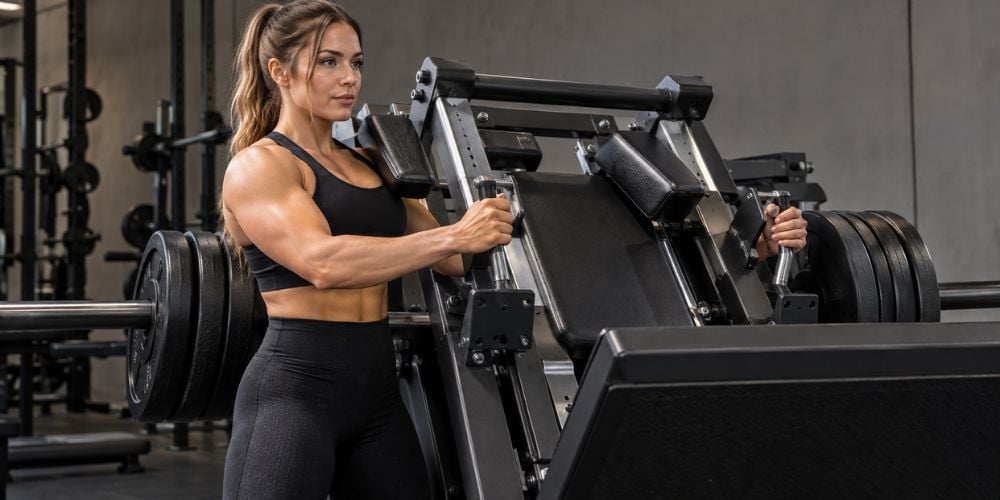
Step into the machine and check the starting position before adding much weight.
If the machine has a height or range-of-motion adjustment, set it so you can stand securely under the shoulder pads. Some pendulum squats also have adjustable foot platforms and multiple racking positions, so the exact setup can vary from machine to machine. Hammer Strength’s Pendulum-X Squat is one example of how these adjustments can differ.
Start with a light load if the machine is new to you. Mayo Clinic also recommends starting with a manageable resistance and increasing it gradually as your technique improves.
Quick check before you start:
- Your feet can sit flat on the platform.
- Your shoulders fit comfortably under the pads.
- Your back stays against the support.
- The safety handles are easy to reach.
- The weight feels manageable.
I usually recommend one light practice set before moving to your normal working weight.
2. Position Your Feet
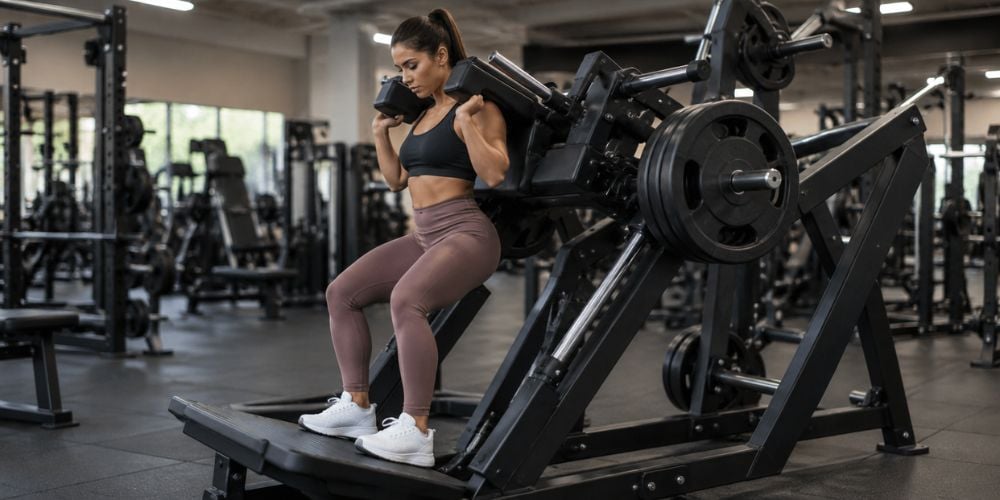
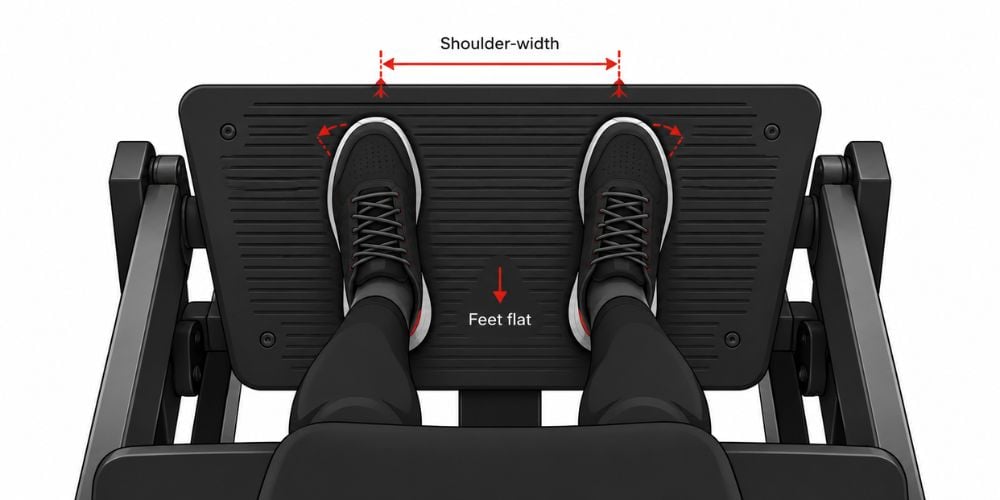
Place your feet around shoulder-width apart on the platform.
Let your toes point slightly outward if that feels natural. The ACE squat guide also uses a slightly turned-out foot position and emphasizes keeping the feet stable throughout the squat.
Where should your feet go?
Foot Position | What You May Feel More |
Lower on platform | More quad emphasis |
Higher on platform | More hips and glutes |
Shoulder-width | Balanced starting position |
Slightly wider | May feel more comfortable |
Your exact position will depend on your height, hip mobility, ankle mobility, and the machine itself.
Not sure which position is right? Start around shoulder-width and make small changes from there.
The goal is simple: your entire foot should stay planted while your knees move comfortably.
3. Set Your Back and Shoulders
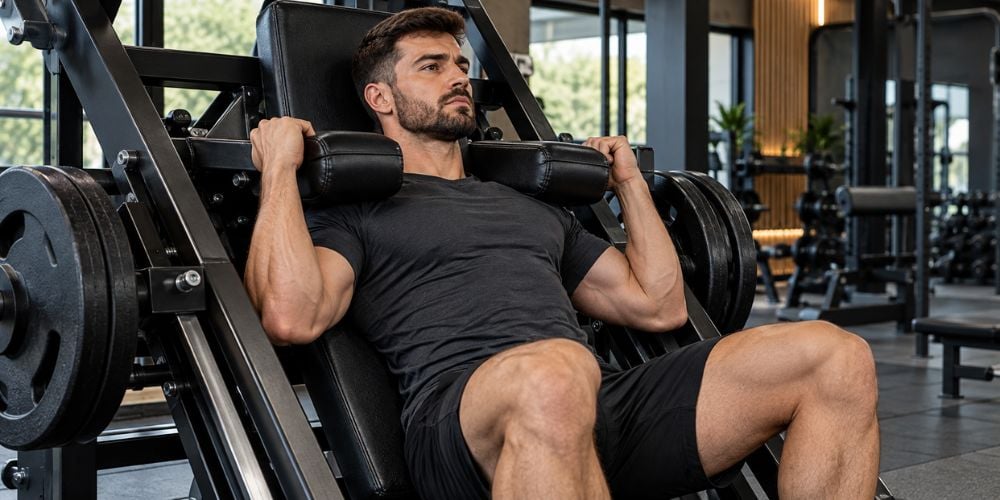
Place your back firmly against the pad and slide your shoulders comfortably under the shoulder supports.
Keep your head neutral. You do not need to force it backward into the pad.
Before you move, lightly brace your core.
Focus on three things:
- Back against the pad
- Shoulders securely positioned
- Core braced
Try to keep your hips and lower back supported throughout the rep.
This stable setup gives you a better base before the machine starts moving.
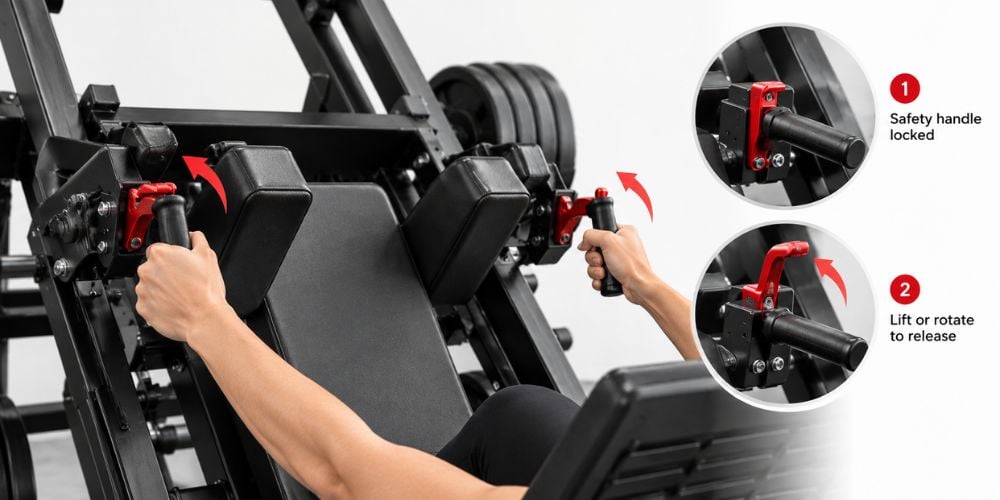
4. Release the Safety Handles
Stand tall enough to take pressure off the safety stops.
Then hold the handles and slowly release the locking mechanism.
Some machines use rotating handles. Others use a lever-style safety system.
First time on that machine? Test the safety mechanism with little or no added weight before starting your working set.
Most importantly, learn how to re-rack the machine before you begin squatting.
A pendulum squat feels much easier to learn when the movement path, foot platform, padding, and safety system all work together. At YR Fitness, we design commercial strength equipment with those details in mind, so you can train with a stable setup and focus more on the movement itself.
5. Lower Into the Squat
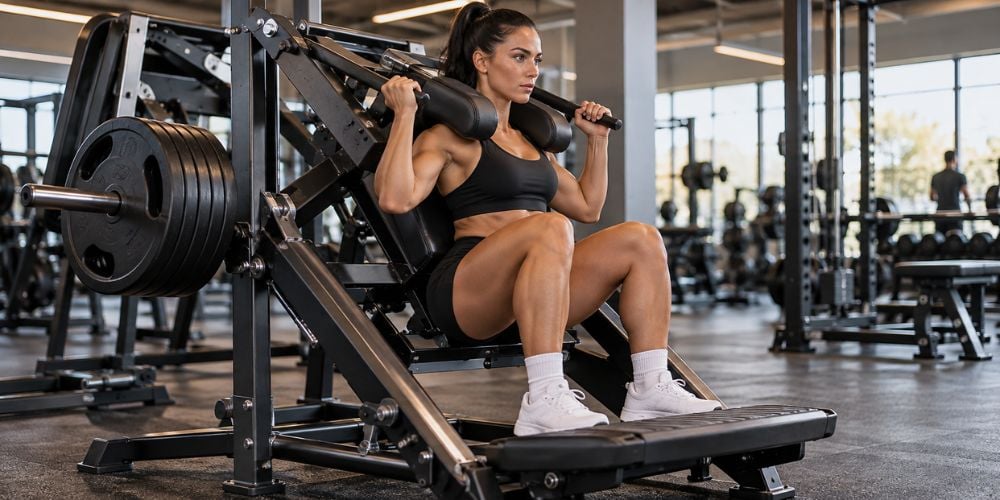
Now start bending your knees and allow the machine to travel downward along its natural arc.
Do not drop quickly to the bottom. Lower yourself under control.
As you descend:
- Keep your feet flat.
- Let your knees follow the direction of your toes.
- Keep your back against the pad.
- Control the weight.
- Avoid letting your knees collapse inward.
The NASM squat assessment guide also looks for the knees to track in line with the feet rather than falling inward.
Here is why this matters: rushing the descent often makes the rep harder to control.
In my decades of design experience, I often see people add too much weight and then lose control on the way down. A lighter, smoother rep is usually a better place to start.
6. Squat to a Comfortable Depth
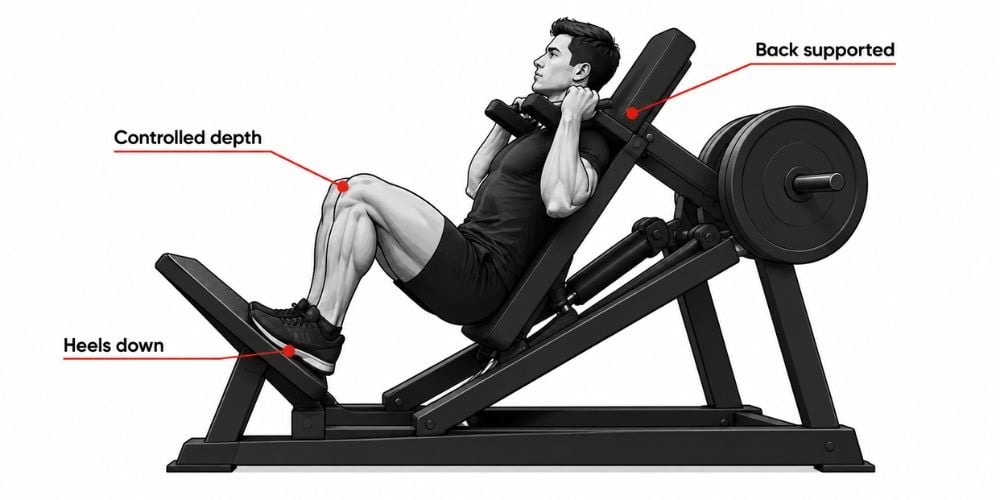
Keep lowering until you reach a depth you can control.
You do not need to match the person training next to you. Mobility, body proportions, foot position, and machine design all affect your comfortable squat depth.
For many people, lowering until the thighs reach or pass roughly parallel can feel natural.
But do not force depth.
Stop going deeper if:
- Your heels start lifting.
- Your hips shift awkwardly.
- Your lower back loses its stable position.
- Your knees become uncomfortable.
- You cannot control weight.
ACE similarly recommends stopping the descent when the heels begin lifting or the torso can no longer maintain a good position.
What if you feel pain? Stop the exercise rather than trying to push through it.
Mayo Clinic advises stopping a strength exercise if it causes pain and considering a lower weight or another attempt after recovery.
7. Push Back Up
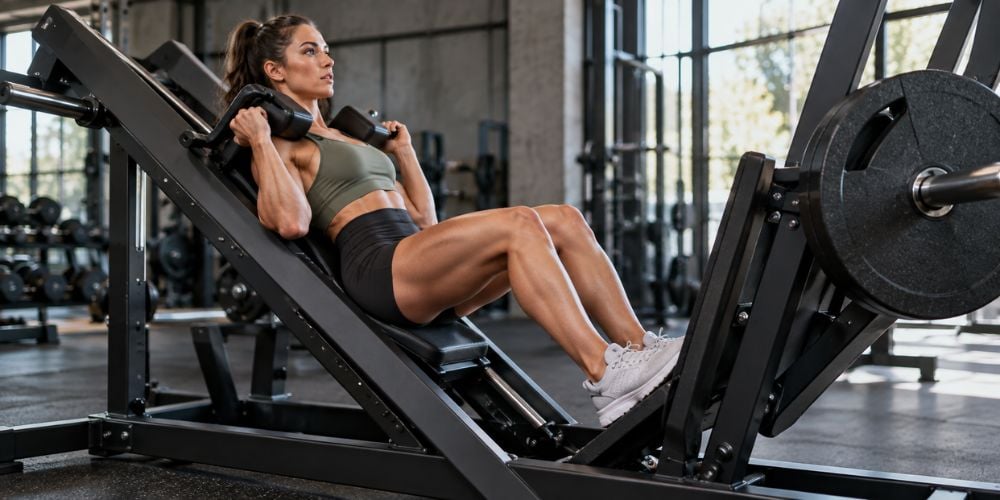
Once you reach the bottom, push through your whole foot and drive yourself upward.
Think about pushing the platform away from you rather than simply straightening your knees.
Extend your knees and hips together while keeping your back against the pad.
As you rise:
- Keep your knees tracking over your toes.
- Maintain pressure through your feet.
- Keep the movement smooth.
- Avoid bouncing out of the bottom.
- Do not aggressively snap your knees straight at the top.
The ACE squat guide also recommends keeping the heels down and extending the hips and knees together during the upward phase.
Return to the starting position under control, then begin your next rep.
Should you add more plates yet? Only if you can repeat the same clean movement without rushing or changing your position.
8. Re-Rack the Machine
After your final rep, return to the top and make sure you are stable.
Move or rotate the safety handles back into their locked position. Then slowly let the machine settle onto the safety stops.
Before stepping out, check that the weight is fully supported.
Remember this simple sequence:
Stand tall → engage the safety → confirm it is locked → step out.
It only takes a second, but it should become part of every set.
Conclusion
Using a pendulum squat machine comes down to a few basics: set your feet well, keep your back supported, lower with control, and drive back up smoothly. Once the movement feels natural, you can gradually add more weight.
If you want to explore well-designed strength equipment for smoother and more stable lower-body training, at YR Fitness we can help you find commercial machines built for reliable daily use and better training comfort.
Related articles:



