








I’ll never forget watching our welders bring the frame of a chest press machine to life for the very first time. Seeing the pieces come together made me realize it was more than just equipment, it was the backbone of someone’s business.
That moment showed me how every detail matters when manufacturing machines that will be used day after day in commercial gyms.
At YR Fitness, we’ve been making gym equipment since 1997. With 30 years of experience, we’ve learned that cutting corners doesn’t serve anyone. That’s why we focus on consistent quality and long-term value, not just being the cheapest option.
In this guide, I’ll walk you through the entire gym equipment manufacturing process step by step. If you’re looking for clarity on how it’s really done, you’ll find it here.
You’re about to see the inside story most gym owners never get.
Let’s jump right in!
- Quick Process Chart
- Step#1 Market Research and Product Conceptualization
- Step#2 Design and Engineering
- Step#3 Sourcing Raw Materials
- Step#4 Fabrication and Machining
- Step#5 Assembly Process
- Step#6 Quality Control and Testing
- Step#7 Finishing Touches
- Step#8 Logistics and Distribution
- Step#9 After-Sales and Support
- Conclusion
Quick Process Chart
Manufacturing gym equipment is more than cutting steel and assembling parts. Each step builds on the last, making sure the final product is safe, durable, and ready for real-world use. This table gives you a quick overview of the process from idea to after-sales support.
Step | What It Involves | Goal | Outcome |
1. Market Research & Concept | Study trends, gather feedback, check competitors | Find real demand | Clear product idea |
2. Design & Engineering | Blueprints, 3D models, ergonomic planning | Make practical designs | Prototypes ready |
3. Raw Materials | Source steel, cables, padding, verify suppliers | Ensure strength & comfort | Reliable supply |
4. Fabrication & Machining | Cut, bend, weld, drill, machine parts | Build strong frames | Solid base parts |
5. Assembly | Attach components, add cables, test fit | Create functional machines | Complete equipment |
6. Quality Control | Inspect welds, test motion, load check | Guarantee safety & durability | Certified machines |
7. Finishing Touches | Powder coat, upholstery, branding, grips | Add polish & comfort | Professional finish |
8. Logistics & Distribution | Package, label, prepare docs, ship | Deliver safely & on time | Equipment arrives |
9. After-Sales Support | Manuals, parts, warranty, follow-up | Build long-term trust | Ongoing reliability |
Step#1 Market Research and Product Conceptualization
Before any steel is cut or designs are drawn, the process begins with understanding the market. Building gym equipment that sells starts with knowing what people want and where the demand is heading. It’s about asking the right questions up front so you don’t waste time and money later.
Identify Market Needs
- Study Industry Trends: Keep an eye on shifts like the rise of functional training or demand for compact machines. Trends tell you what’s coming next, not just what’s popular today.
- Talk to Gym Owners and Users: Ask about pain points like machine durability or ease of use. Real feedback often reveals what your product should focus on.
- Check Out Competitors: Look closely at their strengths and weaknesses. You’ll spot gaps you can fill with a smarter design or better value.
Define Your Product Concept
- Match Design to Demand: Shape your product idea around actual customer needs. This keeps you from creating equipment no one really wants.
- Balance Cost and Quality: Plan features that feel premium without driving the price too high. Customers want value they can trust, not just the lowest price.
- Set Clear Goals: Decide early if the product will stand out for innovation, affordability, or long-term durability. A clear goal makes every decision easier down the line.
Takeaway: Strong manufacturing starts long before the machines hit the factory floor. By studying the market and shaping a clear concept, you set the stage for equipment that not only looks good on paper but also works for real businesses. Think of it as laying the foundation for everything that follows.

Step#2 Design and Engineering
Once the market direction is clear, it’s time to turn ideas into real designs. This stage is where creativity meets practicality, and every detail counts. A solid design not only looks good but also makes sure the final product is safe, durable, and simple to use.
Turn Ideas Into Plans
- Blueprint Development: Engineers put together detailed drawings that show every joint, frame angle, and weld. Clear plans help production run smoothly from start to finish.
- 3D Simulations: Digital testing lets us see how the equipment will move and where stress points might appear. It’s a smart way to make changes before building a prototype.
- User-Centered Layouts: Handle placement, seat design, and range of motion are carefully planned. Even small changes can make workouts more comfortable and safer for users.
Build for the Long Run
- Material Selection: Choosing the right steel grade early on prevents problems like bending or quick wear. This step sets the tone for long-term durability.
- Maintenance-Friendly Design: Easy-to-reach parts and simple replacement options make life easier for gym owners. Less downtime means better value for your business.
- Safety Integration: Every angle and moving part is reviewed for safety before production begins. This helps build trust and keeps users protected.
- Balancing Cost and Quality: Smart design choices keep costs fair without cutting corners. The result is equipment that performs well year after year.
Takeaway: Design and engineering are where ideas become dependable gym equipment. At YR Fitness, we focus on professional design, long-term durability, and real-world usability, so the final product performs in actual gyms, not just in theory.
With more than 20 years of experience designing and manufacturing commercial fitness equipment, we understand what gym owners truly need. If you’re looking for a manufacturing partner that prioritizes professional design, consistent quality, and long-term value, our engineering team is ready to help.
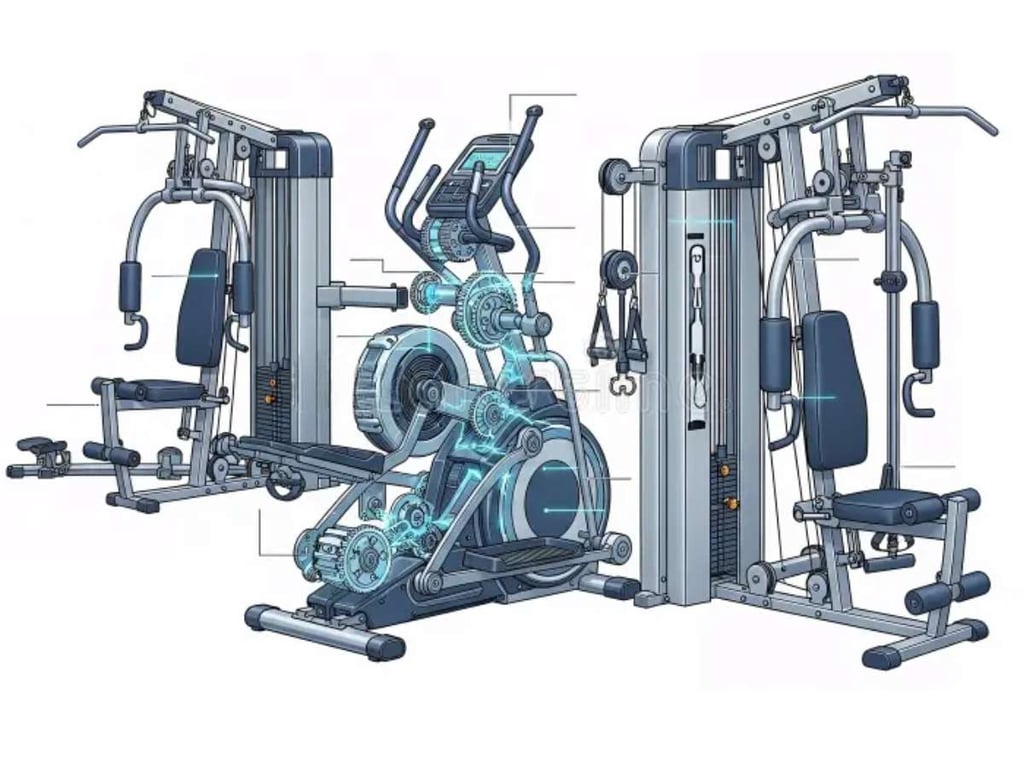
Step#3 Sourcing Raw Materials
Great equipment starts with the right raw materials. No matter how smart the design is, the final product is only as strong as the steel, coatings, and parts used to build it. This step is where you make choices that decide how well your equipment performs years down the line.
Choosing the Right Materials
- Steel Selection: If you want equipment that lasts, it begins with the right grade of steel. Strong steel frames stand up to heavy daily use without bending or cracking.
- Cables and Pulleys: Think about how often these parts move in a gym. If they’re low quality, you’ll face constant breakdowns that frustrate both you and your customers.
- Upholstery and Padding: Your members won’t notice the frame, but they’ll feel the seat. Padding that holds up to sweat and wear keeps the equipment looking and feeling new longer.
Building Strong Supply Chains
- Reliable Vendors: You need suppliers you can count on to deliver consistent quality. When a shipment arrives late or with bad materials, it slows down everything.
- Quality Inspections: Always check raw materials before they hit the factory floor. A quick inspection saves you from big problems later in production.
- Balancing Cost and Availability: Prices shift, and shortages happen. The key is to stay flexible while still protecting quality.
- Backup Options: Having more than one supplier gives you peace of mind. If one fails, your production doesn’t grind to a halt.
Takeaway: The materials you choose are the backbone of your equipment. Strong steel, reliable moving parts, and durable finishes mean fewer complaints and longer-lasting machines in your gym. When you put care into sourcing, you save yourself time and money later, while giving your customers gear they can trust.
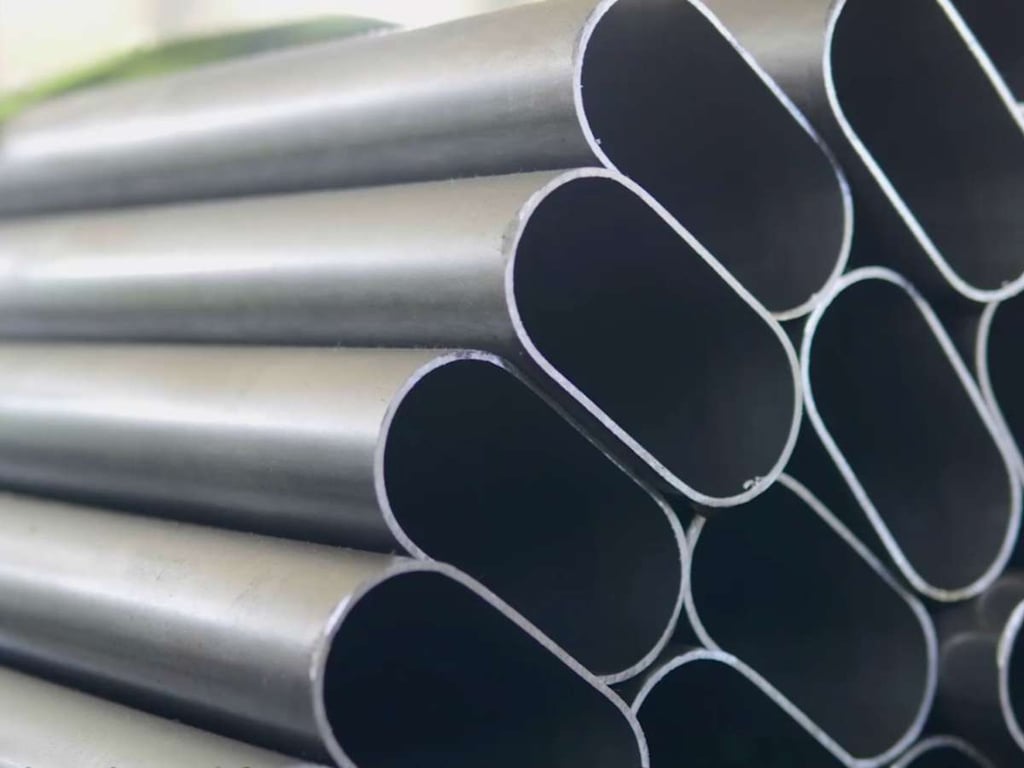
Step#4 Fabrication and Machining
Once the materials are ready, it’s time to start shaping them into real parts. This is where the factory gets busy with cutting, bending, and welding steel until it starts to look like the machines you’ll see on a gym floor. It’s the stage where raw pieces finally take their first step toward becoming equipment you can use.
Shaping the Materials
- Cutting Steel to Size: Every piece of steel is cut to the right length. If this step is sloppy, you’ll run into problems later when parts don’t line up.
- Bending and Forming: Not every piece stays straight. Some need curves or angles, and bending machines make sure those shapes match the design.
- Precision Machining: Smaller parts like joints and brackets are fine-tuned here. If you’ve ever used equipment that rattled, chances are this step was skipped or rushed.
Putting It All Together
- Welding Frames: Pieces are joined into full frames with solid welds. A strong weld gives your machines the backbone they need.
- Surface Prep Work: Before finishing, frames are cleaned and smoothed. This keeps your equipment safe to use and ready for a quality finish.
- Drilling and Punching Holes: Bolt holes, pins, and adjustment slots are added now. Getting this right saves you a lot of trouble during assembly.
- Spot-Check Inspections: Welds and measurements are checked along the way. It’s much easier to fix a small mistake here than rebuild an entire frame later.
Takeaway: Fabrication and machining are where raw steel starts turning into something useful. Every cut, bend, and weld adds to the strength and safety of the final product. When this stage is done with care, you get equipment that feels solid, lasts longer, and saves you from unnecessary headaches down the line.
In short, this is the point where quality starts to become visible.
Step#5 Assembly Process
After the frames are fabricated, the real equipment starts to take shape. This stage is where all the parts finally come together into something that looks and feels like the machines you’ll see on a gym floor. You could say this is the moment the pieces stop being raw parts and start becoming functional equipment.
Bringing the Parts Together
- Attaching Major Components: Frames, arms, and weight stacks are bolted into place. This is where equipment begins to look like what you imagined back in the design phase.
- Fitting Cables and Pulleys: Smooth cable movement is essential. A careful setup here means users get consistent resistance and fewer breakdowns later.
- Adding Adjustment Points: Seats, levers, and pins are installed so the machines can be adjusted. This step is key to making equipment work for different body types.
Finishing the Build
- Tightening and Securing: Every nut, bolt, and pin is checked for proper fit. A loose part here can cause issues once the equipment is in use.
- Adding Protective Covers: Safety shields and guards are put in place around moving parts. These details protect users and make the machines more professional-looking.
- Initial Function Test: Machines are tested for smooth movement and stability. It’s easier to catch issues here than later on the gym floor.
Takeaway: Assembly turns a pile of parts into working gym equipment. By carefully fitting, tightening, and testing, the machines become safe, adjustable, and ready for the next stage. Done right, this step ensures that what started as steel and components is now a fully functional product that’s almost ready for your customers.
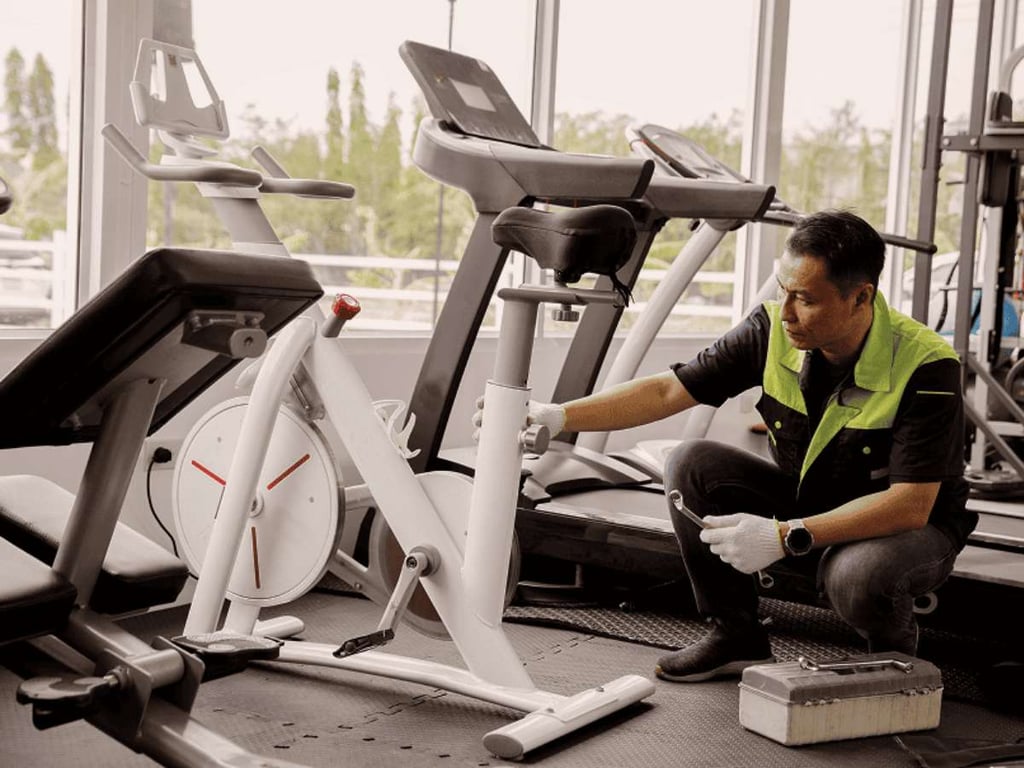
Step#6 Quality Control and Testing
Once the equipment is assembled, the next step is making sure everything works the way it should. This stage confirms that all the effort from design to assembly delivers real performance. It is the point where mistakes are caught before they reach your customers.
Checking Every Detail
- Structural Inspections: Frames and welds are examined closely for cracks, weak points, or sharp edges. A strong structure is the foundation of safe equipment.
- Movement Tests: Cables, pulleys, and joints are tested for smooth motion. Any resistance or uneven pull is corrected before the machine leaves the factory.
- Safety Features Review: Guards, locks, and adjustment pins are checked to make sure they function correctly. These small parts make a big difference in preventing accidents.
Simulating Real Use
- Load Testing: Machines are tested under heavy weight to see how they hold up. This step shows whether the equipment can handle tough, everyday use in a gym.
- Durability Checks: Moving parts are cycled repeatedly to simulate long-term wear. Better to find weaknesses here than in your customer’s facility.
- Final Approval: Each piece is given a sign-off after passing inspection. Nothing moves forward unless it meets the set standards.
Takeaway: Quality control and testing turn assembled machines into reliable commercial gym equipment. At YR Fitness, this is the stage where we confirm that professional design and high-quality materials translate into dependable performance in real gyms.
By putting every machine through strict inspections and rigorous testing, we help our partners avoid unexpected breakdowns and costly maintenance. If you’re looking for a gym equipment manufacturer that takes quality seriously at every stage, from design to final inspection, contact YR Fitness today. Let’s build equipment you can confidently place in your gym or supply to your clients—ready for daily use from day one.
Step#7 Finishing Touches
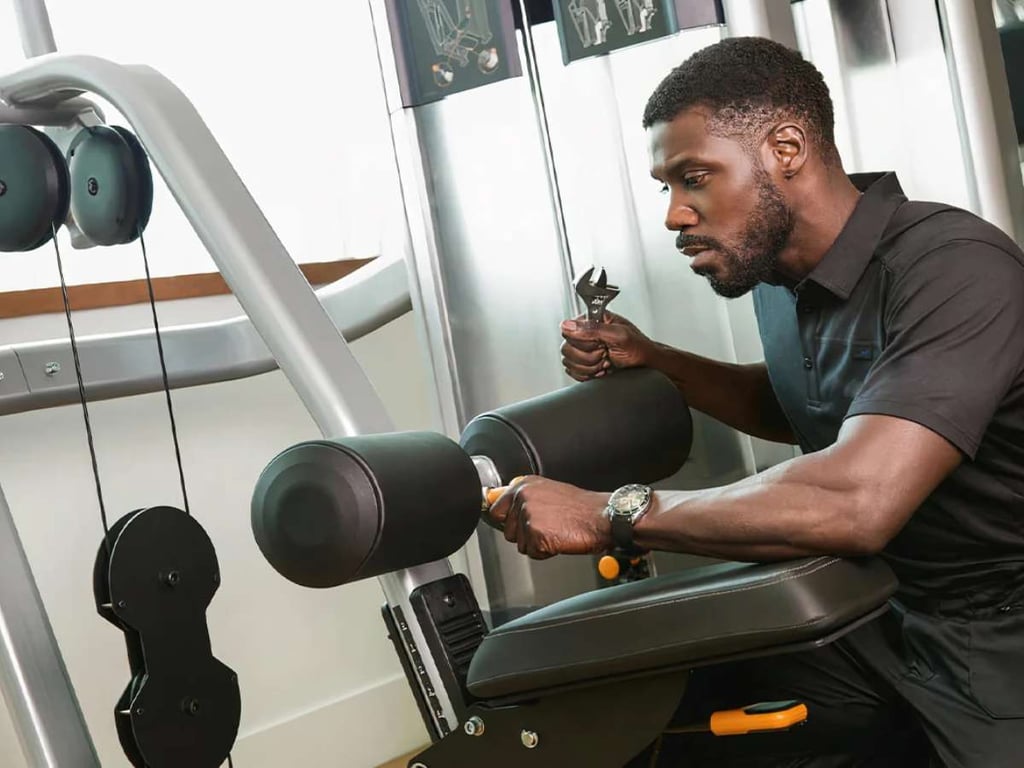
At this stage, the equipment already looks complete, but the finishing touches make all the difference. These details improve durability, protect the equipment, and give it a professional look that gym members will notice. Think of it as the step that turns solid machines into polished products ready for use.
Protecting and Polishing
- Powder Coating: A strong powder coat protects the frame from rust and scratches. It also gives the equipment a smooth, polished finish.
- Upholstery Work: Seats and pads are covered with high-quality fabric or leatherette. Good upholstery adds comfort and stands up to sweat and daily wear.
- Branding and Labels: Logos, safety stickers, and usage instructions are added here. These small details help the machine look professional and user-friendly.
Adding the Final Details
- Grip Installations: Rubber or textured grips are attached to handles. Comfortable grips make workouts safer and easier on the hands.
- Plastic Covers and Caps: End caps and protective covers are fitted to exposed metal parts. This step improves both safety and appearance.
- Final Cleaning: Each machine is wiped down and inspected before moving on. A clean finish leaves the product looking fresh and ready to impress.
Takeaway: Finishing touches give gym equipment its lasting appeal and usability. Powder coating, upholstery, and small safety details may seem minor, but they protect the investment and improve the user experience. This stage ensures the machines look sharp, feel comfortable, and are fully prepared to perform in a commercial gym environment.
Step#8 Logistics and Distribution
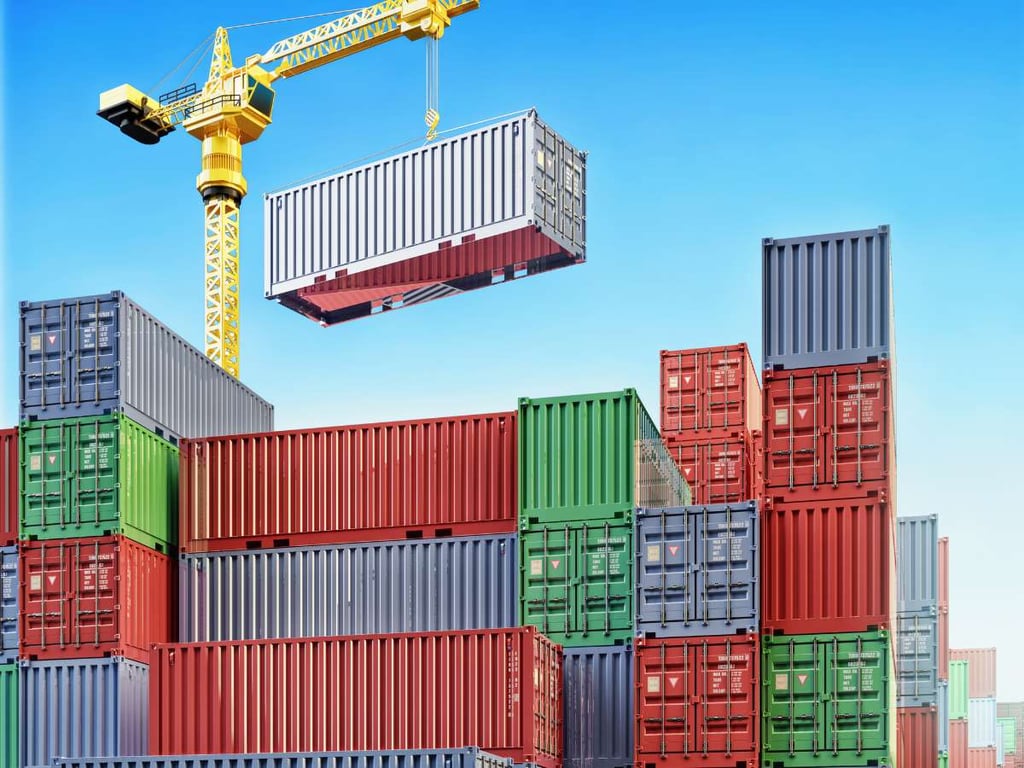
Once the equipment is built and finished, the next challenge is getting it safely from the factory to your facility. This step is about planning, packaging, and shipping in a way that protects the machines and keeps your delivery on schedule. Smooth logistics save you time, money, and a lot of stress.
Preparing for Shipment
- Protective Packaging: Each piece is wrapped and secured with padding, foam, or plastic. Good packaging keeps equipment from being scratched or damaged in transit.
- Clear Labeling: Boxes and crates are marked with part numbers and instructions. Clear labels make installation easier once the equipment arrives.
- Disassembly for Transport: Large machines are sometimes shipped in sections. Breaking them down into manageable pieces lowers costs and reduces shipping risks.
Moving Equipment Safely
- Choosing the Right Carrier: Selecting reliable freight partners helps prevent delays. A strong shipping partner can make the difference between on-time delivery and unexpected headaches.
- Customs and Documentation: For international buyers, paperwork like invoices and certificates must be accurate. Mistakes here can stall the shipment at the border.
- Tracking and Communication: Updates during transport let you plan for delivery and installation. Knowing where your shipment is saves time and worry.
Takeaway: Logistics and distribution are about more than moving boxes. Careful packaging, clear paperwork, and reliable carriers ensure your equipment arrives on time and in perfect condition. When this stage runs smoothly, you can focus on setting up your gym instead of dealing with shipping problems.
Step#9 After-Sales and Support
The work doesn’t end once the machines are delivered. After-sales support is what keeps the equipment running smoothly and helps you get the most out of your investment. Strong support shows reliability and builds long-term trust between manufacturer and customer.
Helping You Stay Up and Running
- Maintenance Guidance: Clear manuals and service tips make it easier to care for your machines. Simple upkeep extends the life of your equipment.
- Spare Parts Availability: Having access to replacement cables, pads, or grips prevents downtime. Quick parts support keeps gyms operating without long waits.
- Technical Support: A dedicated team to answer questions or solve problems makes a big difference. Sometimes a short call saves hours of frustration.
Building Long-Term Partnerships
- Warranty Coverage: Warranties provide peace of mind and protect your investment. Knowing repairs are covered builds confidence in the equipment.
- Regular Check-Ins: Some suppliers check in after delivery to ensure everything is working as expected. This kind of follow-up strengthens business relationships.
- Feedback Loop: Customer feedback is used to improve future products. When issues are addressed quickly, it shows the manufacturer values your input.
Takeaway: After-sales and support close the loop on the entire manufacturing process. With reliable guidance, quick access to parts, and responsive service, you don’t just buy equipment—you gain ongoing peace of mind. This step ensures your machines keep delivering value long after installation, making the partnership just as important as the product itself.

Conclusion
From the first welded frame to the last inspection, manufacturing gym equipment is about building trust through process.
This article connected every stage, giving you a complete view of how durable machines are created for real-world use. That initial story of the chest press frame comes full circle: what begins as steel becomes the backbone of gyms around the world.
At YR Fitness, we focus on long-term value and competitive quality to help your business thrive.
Take the opportunity to invest in equipment built to last. Contact us today at YR Fitness.
Related articles:



